Monday 24 February 2014

Laser Cut Sleeves


Hello Everyone,

The sun has been shining today, and we're feeling in a spring mood! We have been busy designing some new products and thought we would share one of our NEW laser cut sleeves and favour boxes with you. 

The Laser Cut Sleeves are available from my website here:


The adorable laser cut sleeves come flat, ready for you to assemble, (all you need to do is add a little double sided tape to each of the inside flaps shown to stick together) 

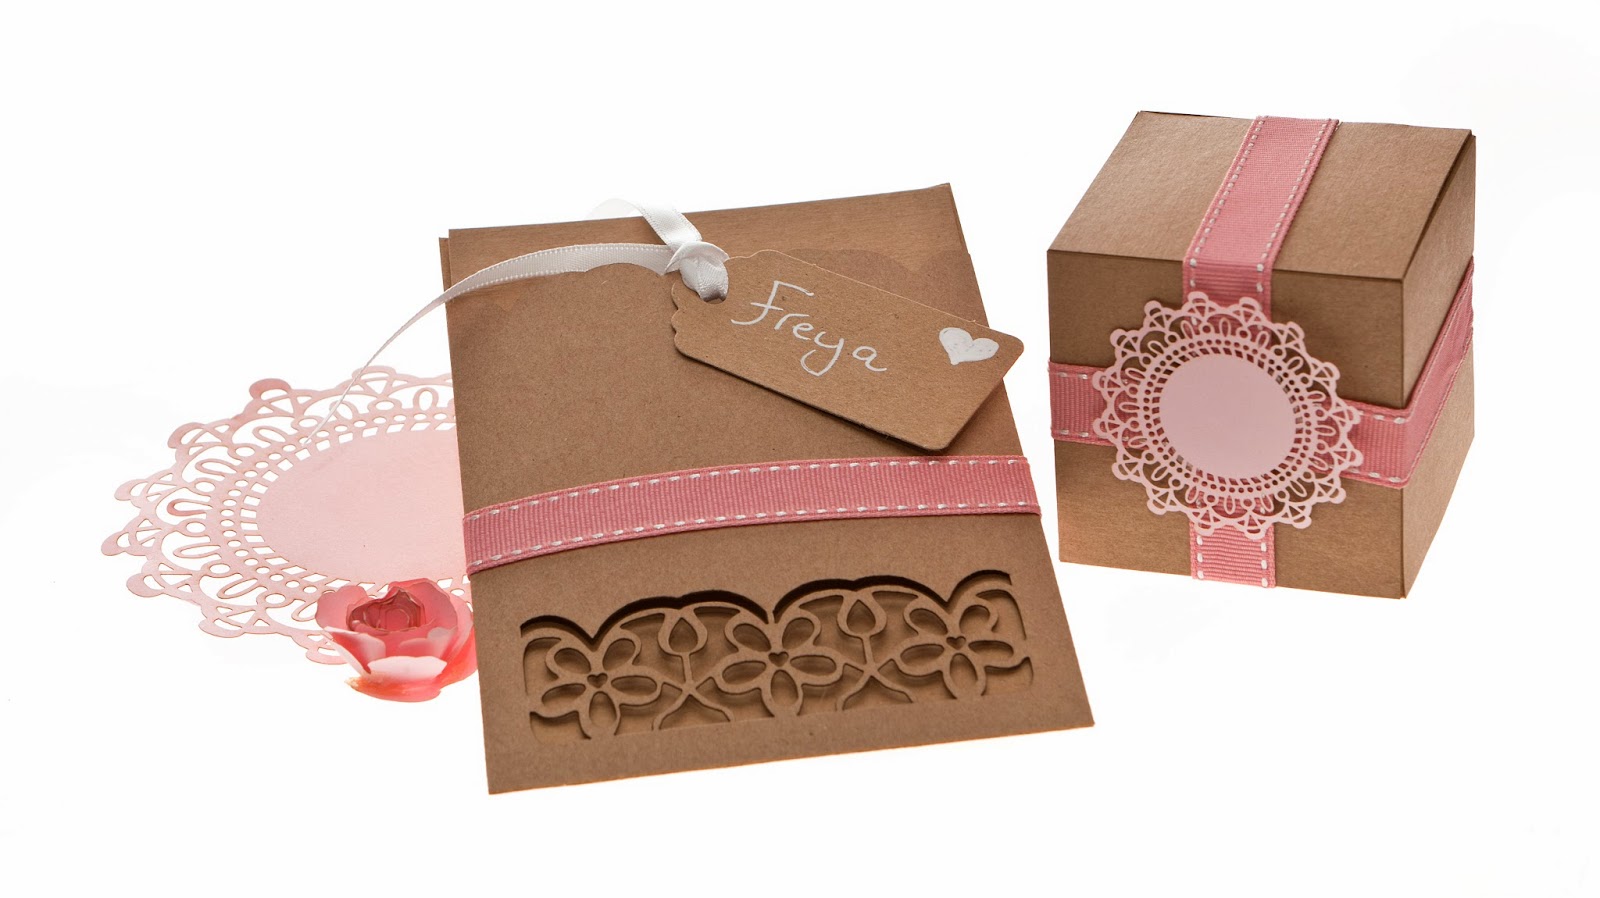
We decorated them with some gorgeous 15mm reversible stitched Salmon Pink grosgrain ribbon. Available from www.janemeans.com.


Starting from the middle of the back of the sleeve when the sleeve has been made up, add a straight line of double sided tape, bring the tape around the front, and bring around the back of the sleeve to meet in the middle where you started. 
Repeat the process with the ribbon, by peeling back the double sided tape top layer and add the ribbon and wrap around the back. With a sharp pair of scissors, cut the ribbon straight at the tape join and press down lightly for the ribbon to stick to the tape.

We used our pastel pink mini doilies to decorate our kraft boxes, and matching Salmon Pink ribbon to complete the set.


The wallets have a small hole in the front, and come with free mini luggage tags. They can be used as a menu place settings at your wedding reception, or as a really unusual and unique way of giving a wedding invitation to your guests. The wallets can hold up to 5 pieces of card, for your invitation, RSVP, venue or travel information. 

The wallets are also available in vintage cream fleck. 


We also decorated some mini vintage milk bottles with our mini doilies, filled the jars with chocolate dragees, and added a name - we think they make perfect little table favours!


Sunday 23 February 2014

Decorative Wreath Tutorial

Decorative Paper Wreaths

Hello All!

Today we have a free tutorial for our beautiful decorative paper wreath kits. Here at Razzle Dazzle Rose, we believe that wreaths should be an all round annual decoration in your house, and not just hung on your door or porch to celebrate Christmas!

We have designed a beautiful step by step tutorial for you to recreate your own version. The wreaths so easy to make;  A few simple origami paper folds on long strips of paper or card and a little glue card is all it takes!  Kits are available from our website here: http://www.razzledazzlerose.co.uk/decorative-wedding-wreaths-92-c.asp


In the kit you will find the following:
3 rings of heavy card
70 strips of paper or card (depending on which kit you purchase)
1 metre crochet lace
1 paper flower
(Glue and scissors not included)

Here’s how to make:

Start by glueing the rings together, this will help make the base that you are going to wrap the strips around firmer. We recommend our stix2 high tack glue as it only takes 7 seconds to stick together!


In the kit you will find 70 strips of paper ( or card). You need to glue two ends of two trips of paper together like this:

 With a strip of paper in each hand, cross the ends together and add some glue, hold for 10 seconds to bind together

Keep on folding each strip over each other until you get to the end of the strip, and add a little glue. Trim the ends so the folds are all neat and the same width.

Keep folding until you have 4 folded strips. Glue all the ends together to form a long chain like this:


When you have made 8 or 9 long chains, glue all the ends together. It's then time to start to thread the chains though the rings. 

Before you start to thread through the rings, stretch the chains apart slightly. All you now need to do it thread the long chains through the rings.


By holding the end of the chain in one hand, you need to thread through the wreath in the other hand.


When you have wrapped all the way round the wreath, your ends should meet together where you started, when you have done this, glue the two ends together.


Repeat this process until the chains have all been wrapped around and cover the rings. Continue, to wrap around again like this:


Repeat this process until the chains have all been wrapped around and cover the rings completely.


to decorate, fold your crochet into a big bow, and stick to the bottom middle of the wreath.

That's it, you are now done! 

You can hang them on doors, back of chairs, or hang on walls and beams. We simply added a little nylon fishing wire or ours.

We also sell the kits in brown kraft and vintage cream, and made them like this:


Happy Crafting folks!

 
BLOG DESIGN BY DESIGNER BLOGS