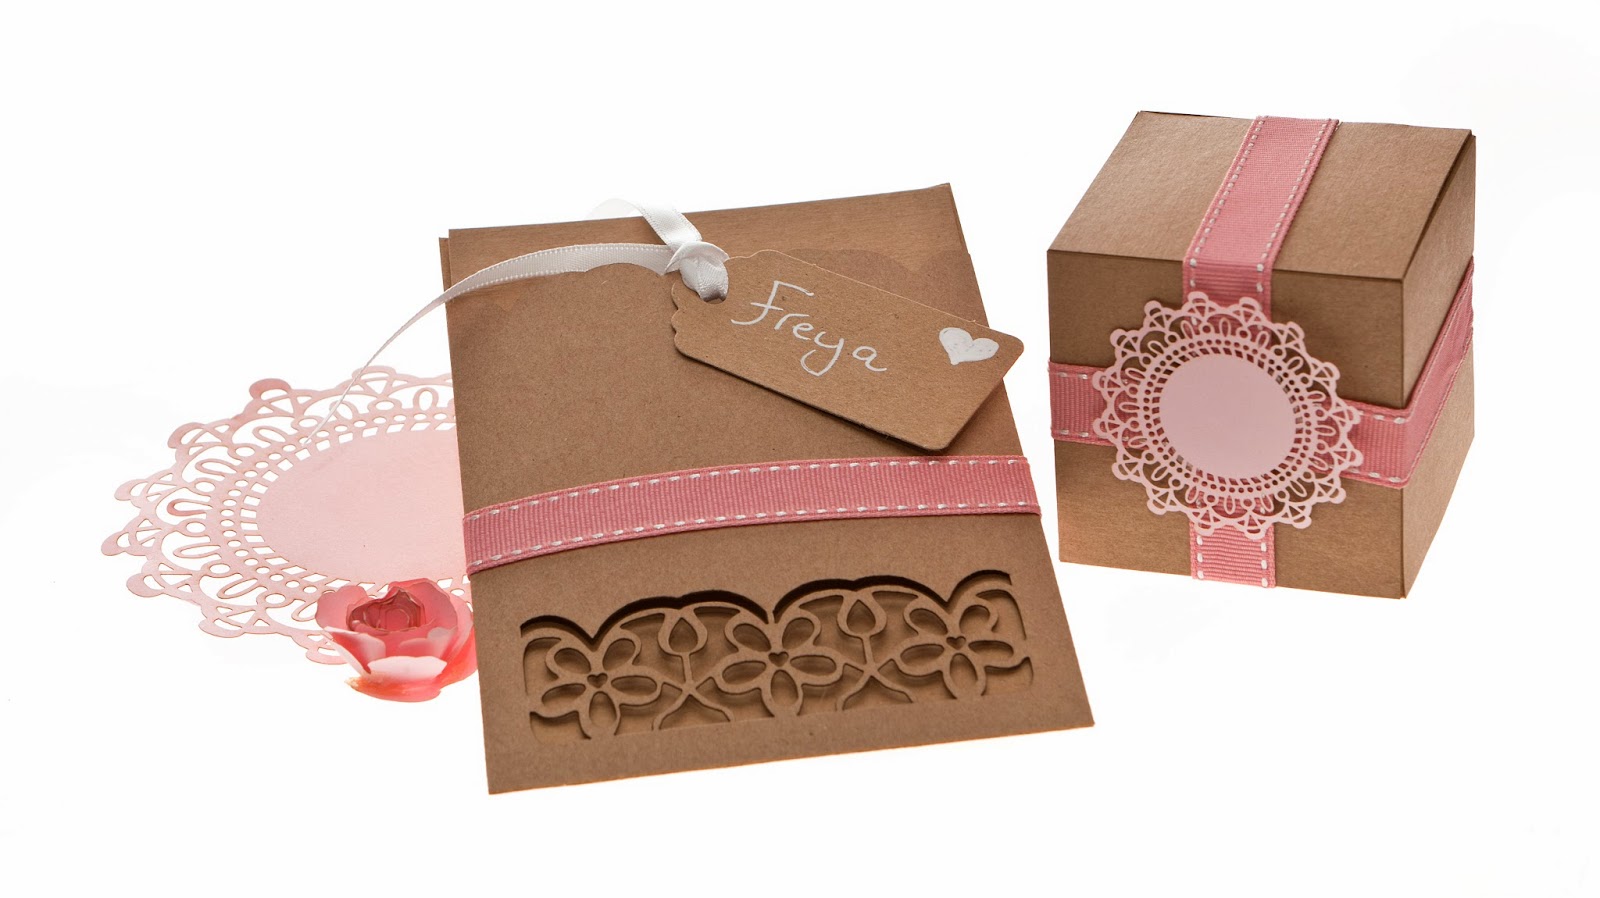
Have you seen our new crochet hearts? Each crochet heart measures 7.5cm x 8cm, and is available in white or cream. They can be used for bunting, for adding to glass jars, as place names or on wedding stationery, the list of possibilities is endless. Here are a few ideas we have created for you.

Here we hand stamped a name on a little calico or plain white or cream linen, we added a few little buttons, and attached some of our cream crochet lace to the back, and then wrapped around a napkin.


2) Wedding Favour wands
To create the 'wands' we painted the hearts with a solution of mixed pva glue and water on both sides to stiffen the crochet material. About 50 /50 is the right mixture to stiffen the crochet. Leave to dry overnight, once dry hot glue a wooden skewer to the back. ( we used kebab sticks). To decorate, we added some of our crochet ribbon or some natural twine if you prefer, and tied in a bow to the front. You can then either hand stamp a message, add your guests name or a table number and add them into a pot of flowers. To complete, add a few wooden buttons and you're done!

decorated white crochet heart wand in glass jar.


We added a natural twine bow to the front with hot glue, and then glued a loop to the back, These could be used as gifts tags.
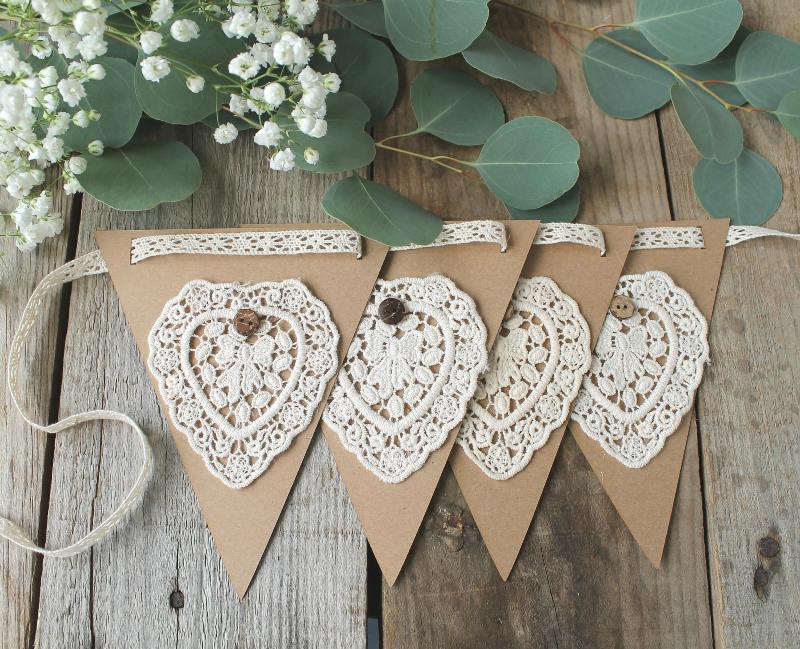
4) bunting
We have created 2 bunting kits - one with kraft or cream card bunting, and one with just. twine.

kraft card bunting kit, available with cream or brown card, and cream or white crochet hearts.

plain hanging bunting kit in white


5) wedding stationery. Are you getting married and looking for unusual wedding stationery... why not glue a crochet heart to a gatefold card? Using the same method as the wands above to stiffen the crochet, you will need to hot glue to the left hand panel of the folded card, add a few buttons and a hand stamped message and wrap some natural twine around.

Our Gatefold card kits are available in cream or brown card, with the envelopes in cream or brown too.
All the above items can be purchased on our website. All products that are highlighted can be clicked on to go direct to the goods in our website.
Enjoy!

.jpg)